The operating systems and applications which support Mopria mobile printing 
Print
Home > How can I clear any paper jam in the printer for BM5100?

File Number:FAQ40M-14V124


How can I clear any paper jam in the printer for BM5100?


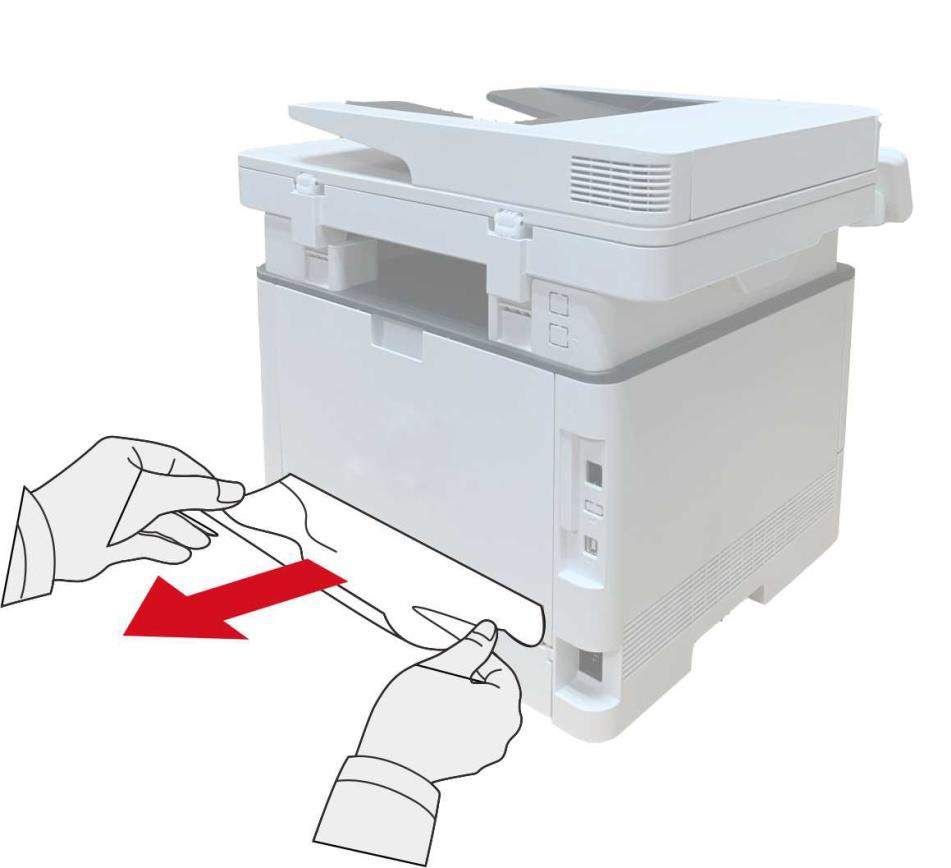
Middle jam

Note: • When removing the paper jam, please don't touch immediately places labled with high

temperature warning in contact with internal components after opening the printer's front or rear cover, to prevent burns.

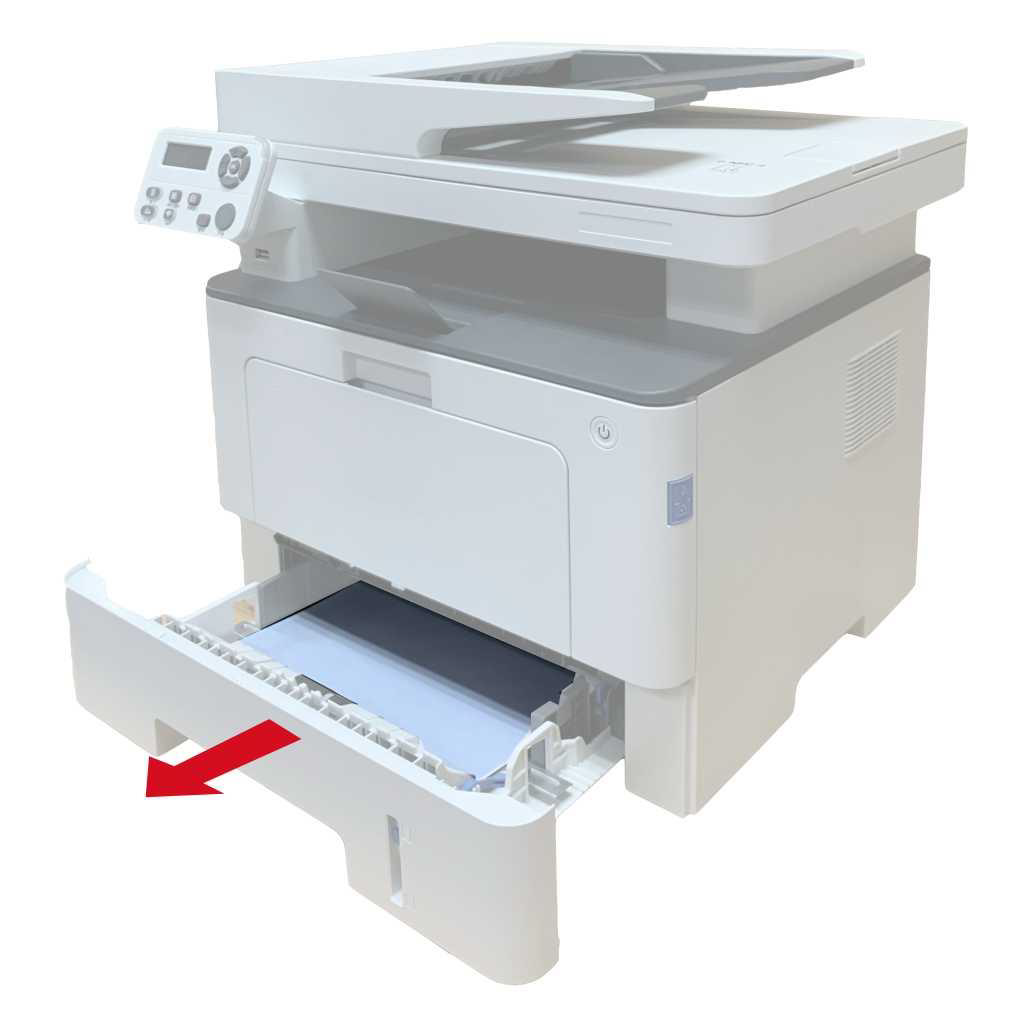
1. Pull paper tray out.
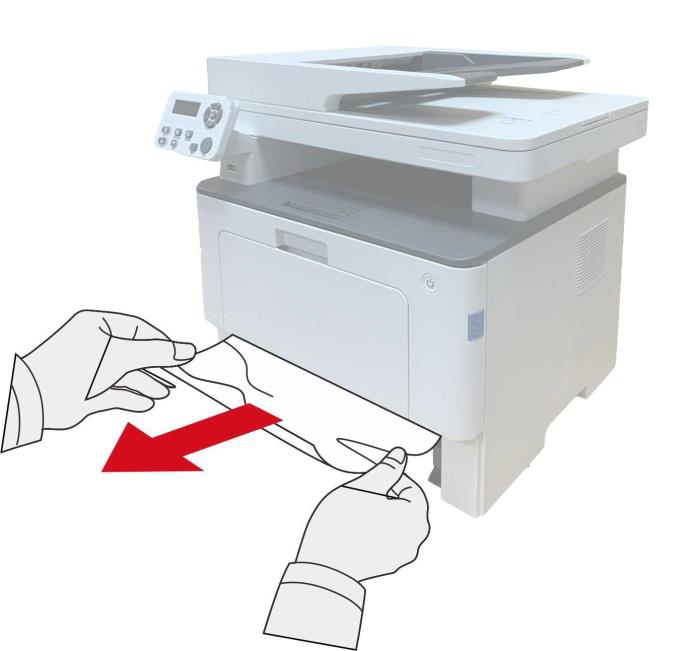
2. Gently pull the jammed paper out.
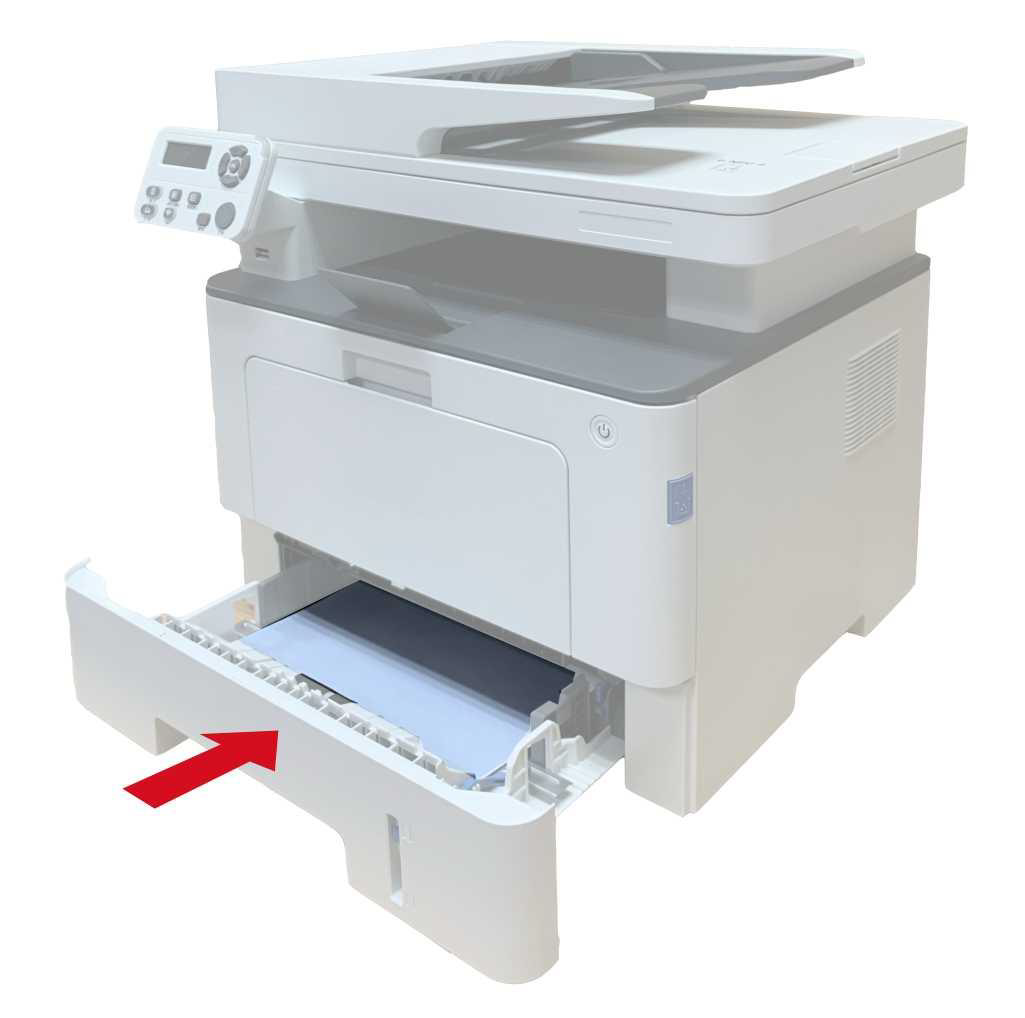
3. Install paper tray.
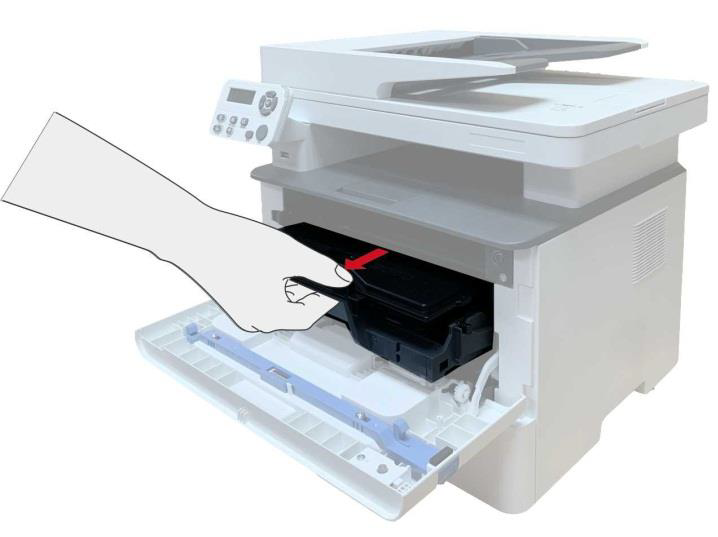
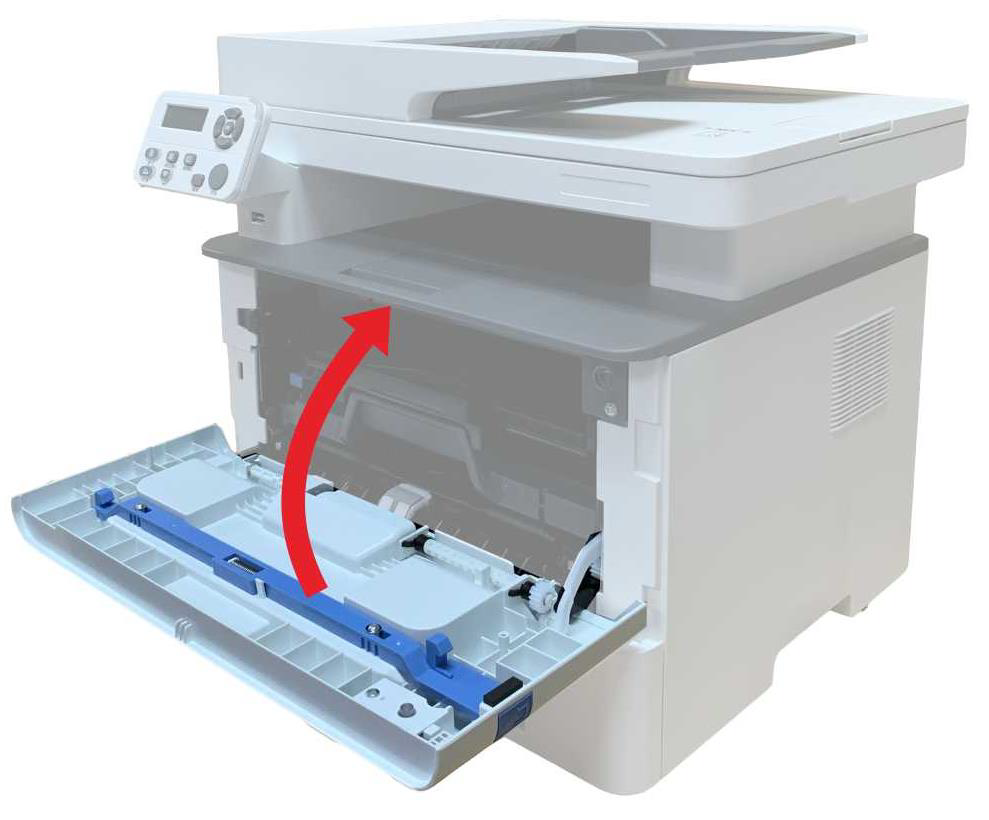
4. Open the front cover.
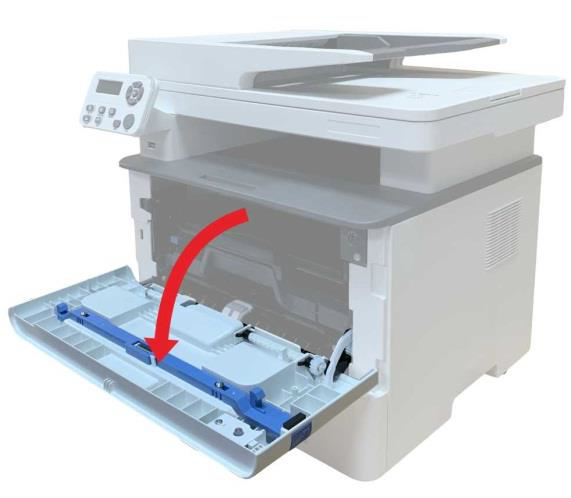
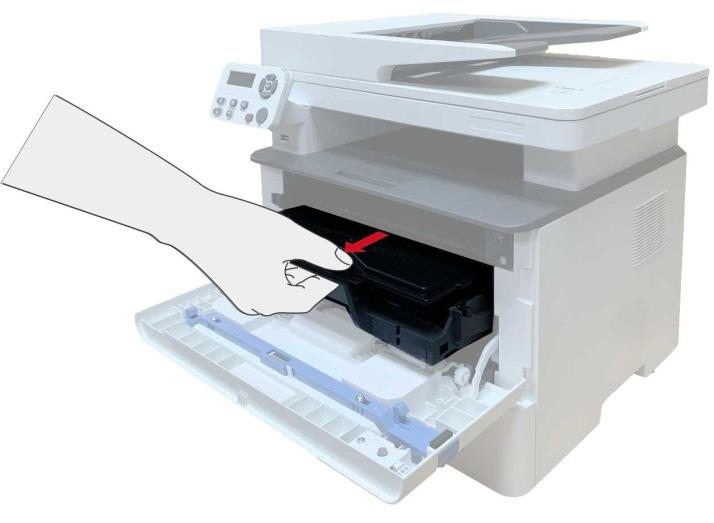
5. Take the laser toner cartridge out along the track. (For the purpose of preventing printing quality from affecting by the exposure of photosensitive drum, please put the laser toner cartridge inside the protection bag or warp it with thick paper).
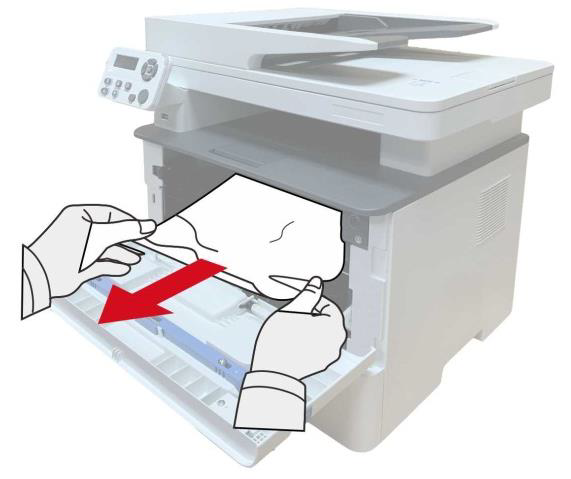
6. Gently pull the jammed paper out.
7. After taking out papers jammed, install the laser toner cartridge again and close the front cover,then the printer will recover printing.

Paper Jam in the Fuser Unit
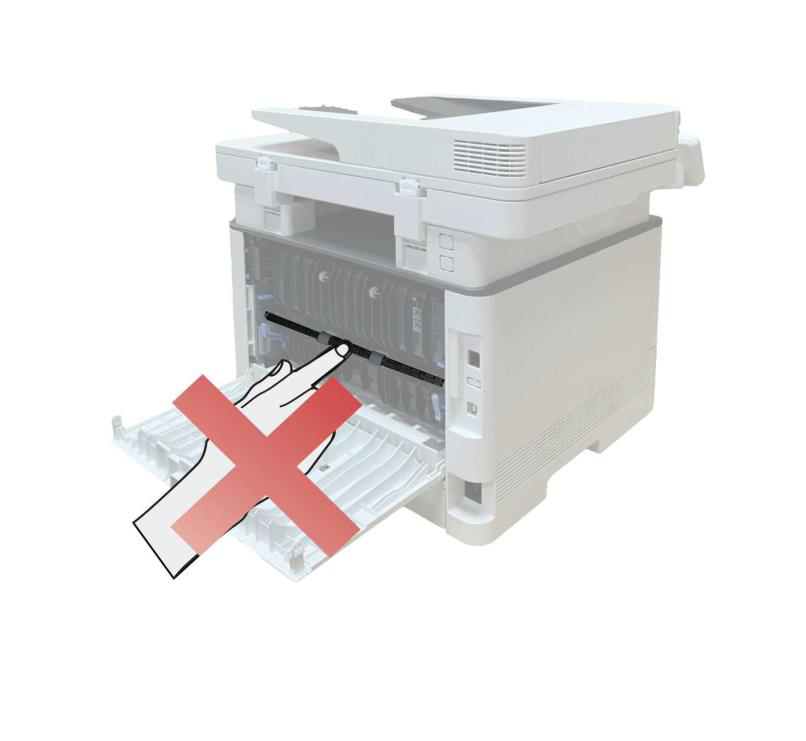
Note: When papers jammed in fuser unit are taken out, please pay attention and do not touch the shaded area shown below in order to avoid burns.
1. Open the front cover and then remove the laser toner cartridge along the guide rail.
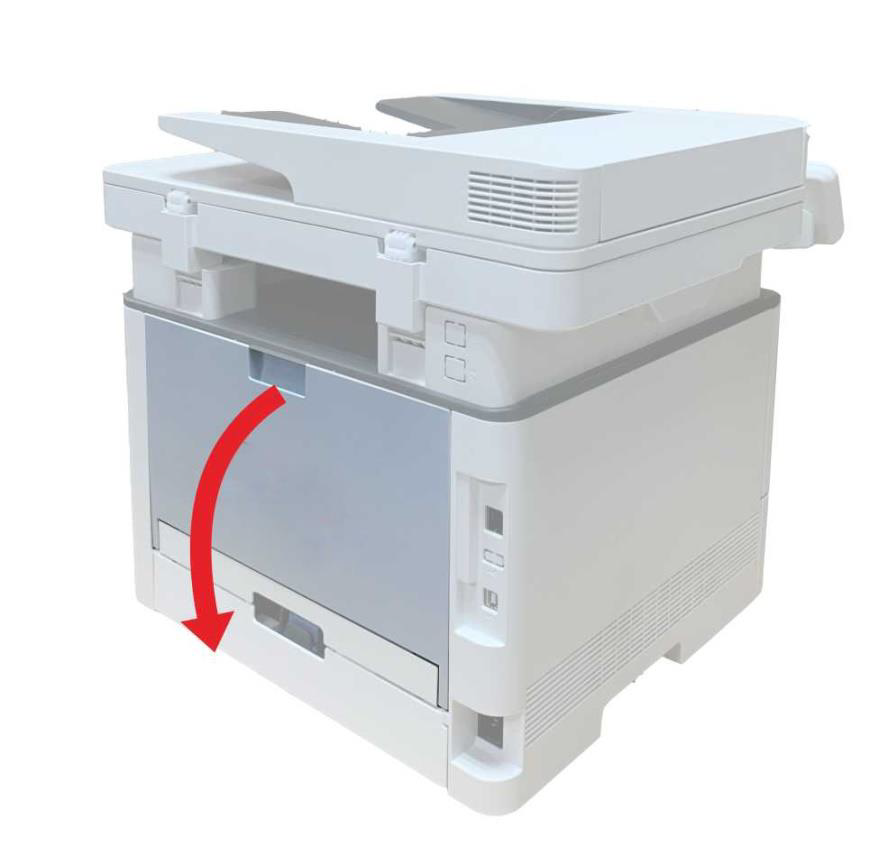
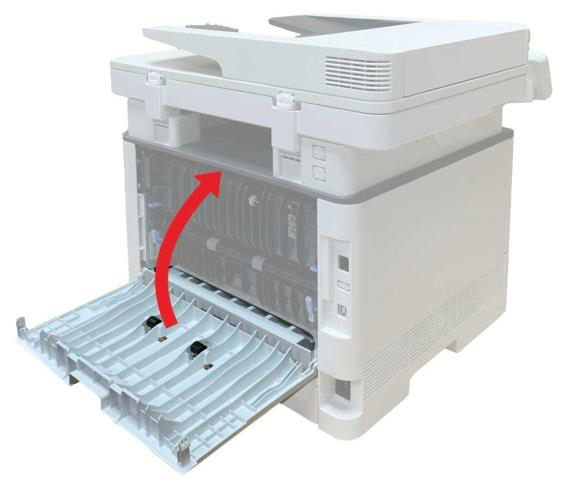
2. Open the rear cover.
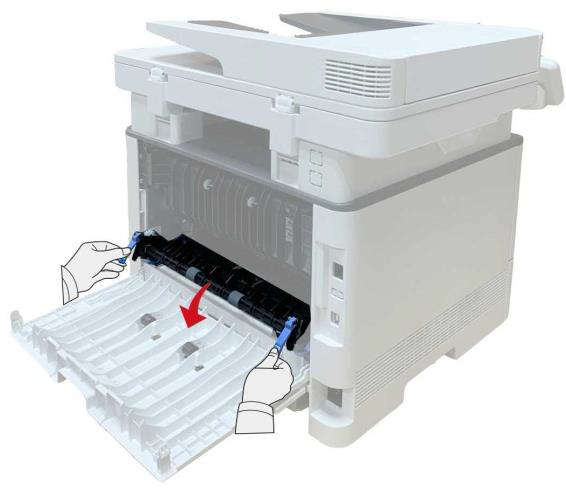
3. Open the fuser door using the handles on both sides.
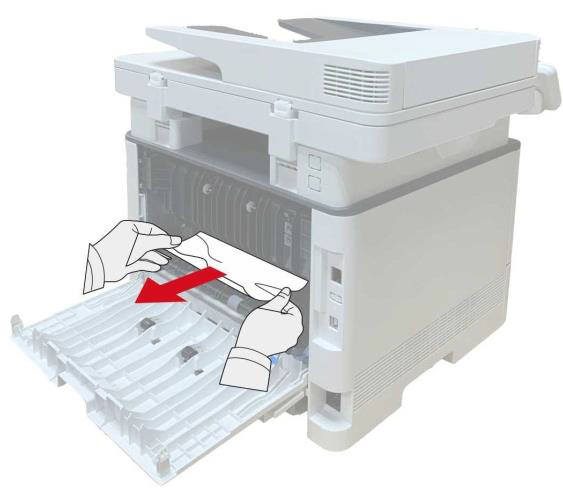
4. Gently pull the jammed paper out.
5. Close the back cover after removing the paper jammed.
6. Install a new toner cartridge and then close the front cover; then, the printer will recover printing automatically.


Duplex Unit Jam
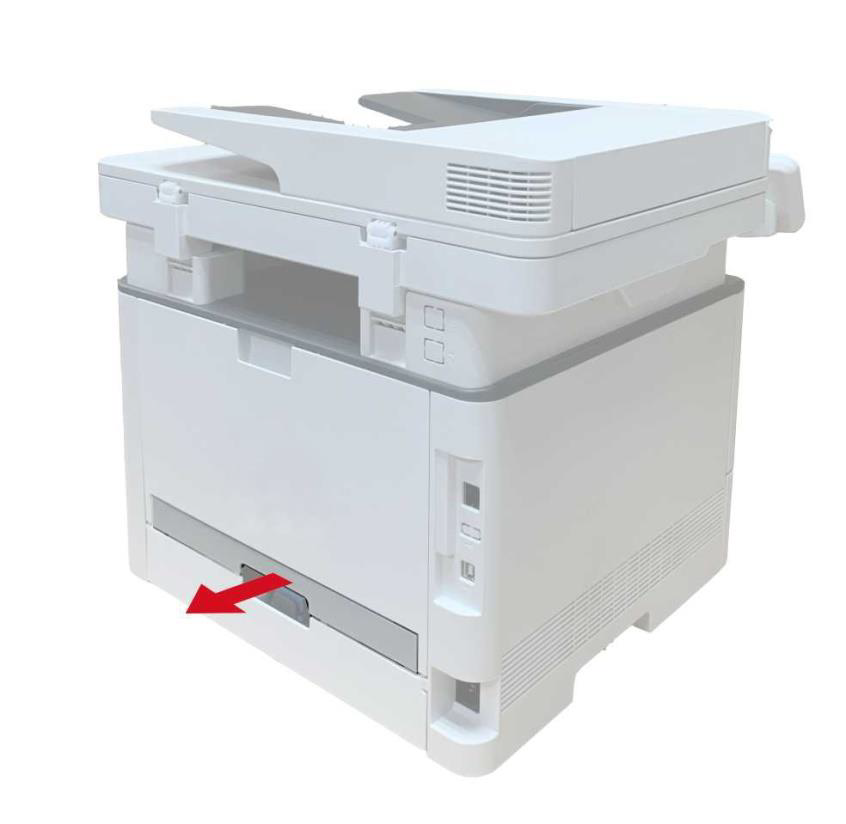
1. Remove the duplex printing unit from the back of the printer.
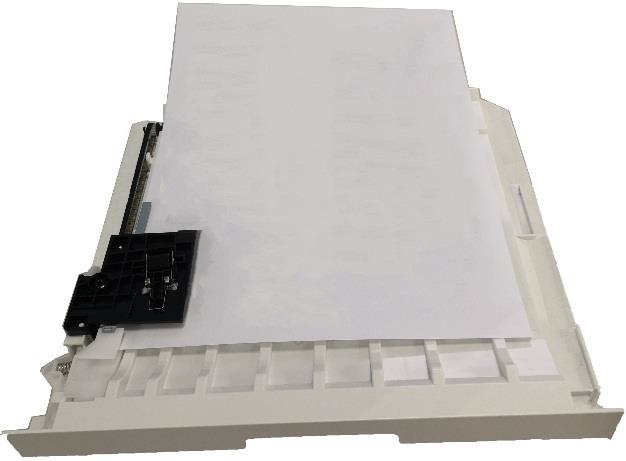
2. Remove the jammed paper from the duplex unit.
3.If the paper does not come out along with the duplex unit, open the tray and remove the jammed paper directly from the bottom.
4. After taking papers jammed out, install the duplex unit back and inspect other parts to the product. If it can be ensured that there are no jammed papers, open and close the front cover and then the printer will recover printing automatically.
Note: A fter all papers jammed are taken out according to the above steps, close the front cover and tidy the
papers in paper tray, then the printer will recover to print automatically.
• If the printer still does not start printing, please check that all the jammed paper inside the printer has been cleared.
• If you cannot remove the jammed paper yourself, please contact your local Pantum authorized repair center or send the printer to the nearest Pantum authorized service center for repair.
• Printer appearance may differ because of various models and functions, so the schematic diagram is only for your reference.

Is this page helpful for you?
Yes
No