File Number:FAQAA4-53V119
How to set up ‘scan to email’ Setting?
Step1: Type the IP address in the Web browser's address bar to access the embedded Web server of the printer.
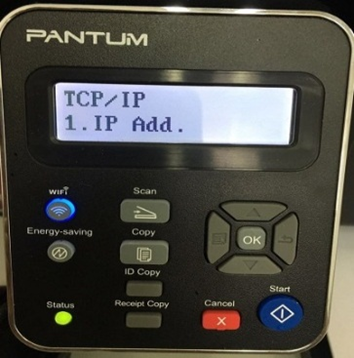
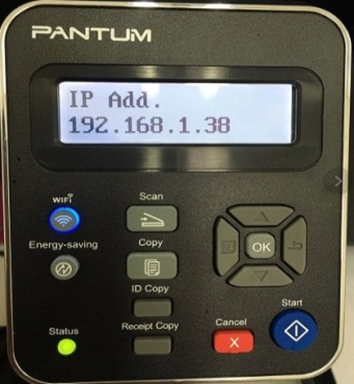
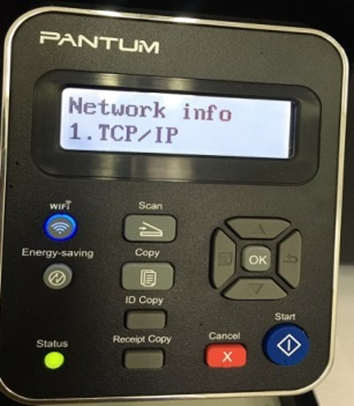
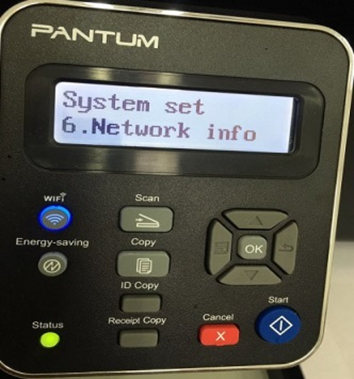
Check the IP address with below steps:
1. Select “network info”
2. Select“1.TCP/IP” in the network info.
、
3. Select “1.IP Add.”
4. At last you will see it.
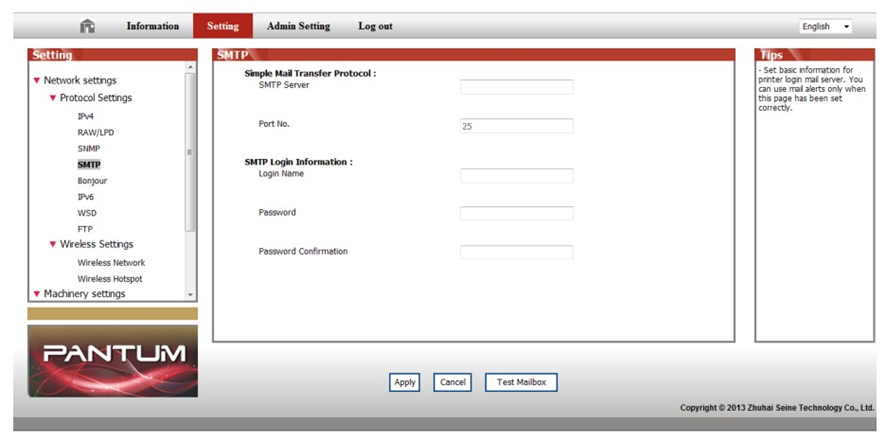
Step2: Click on "Setting"—"SMTP" to set the relative parameters of the SMTP Protocol. After finishing setting, click on "Apply" to save.
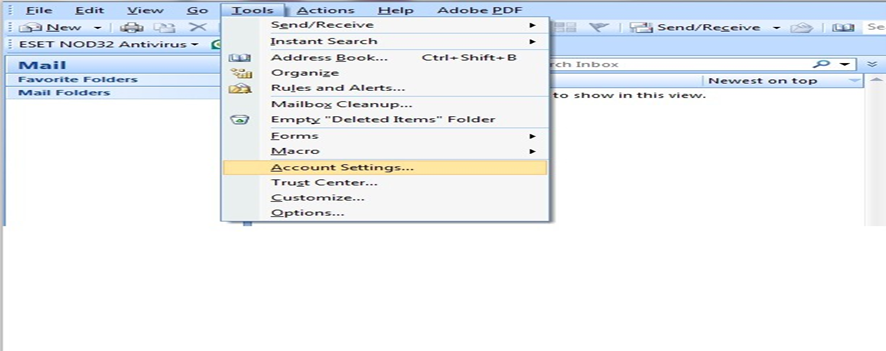
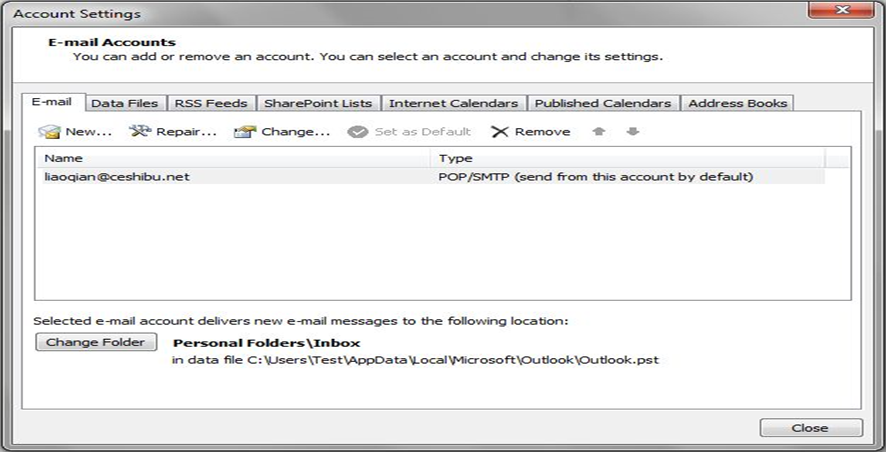
Check with below steps for the email setting:
1. Log in email first, and then click ‘tools’------“account”
2. Double click “Internet protocol” then it will be entered into the next step:
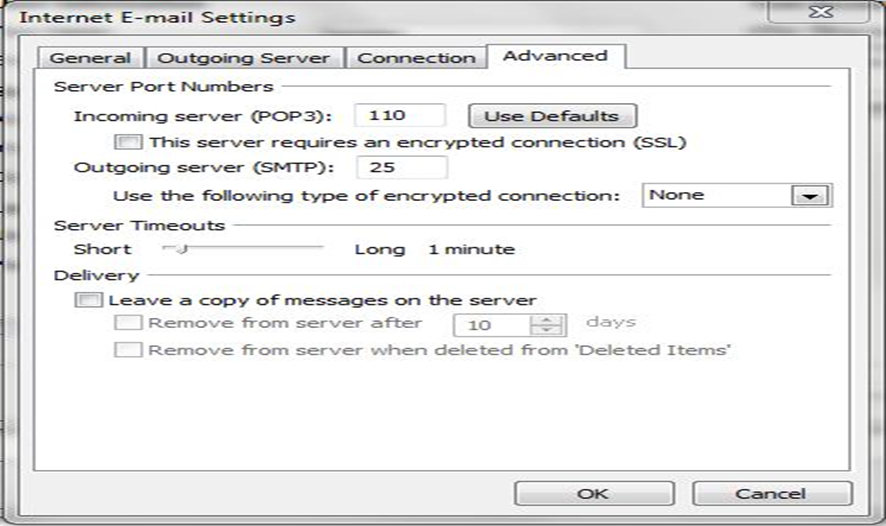
3. Click “more settings”; it will be entered into the next step:
4. Please chose” advanced”, but please don’t tick the” (SSL)”, and then set up the outgoing server port as “25”, at last please click” ok”.
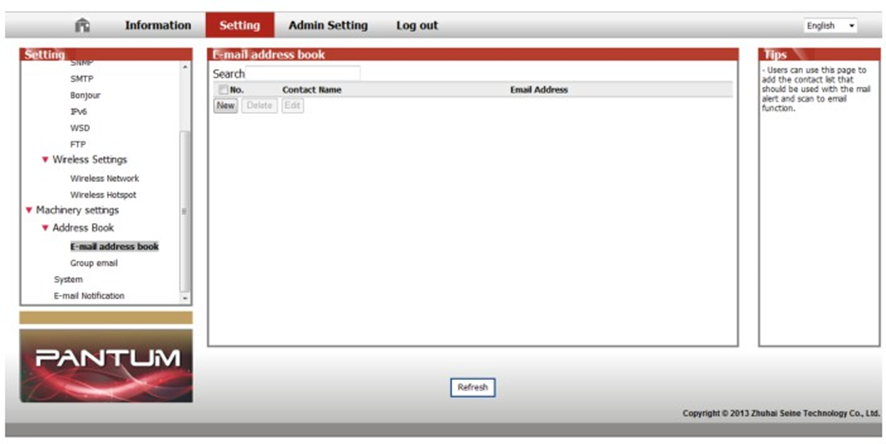
Step3: Click on "E-mail Address Book" in the left setting column to enter into the settings interface.
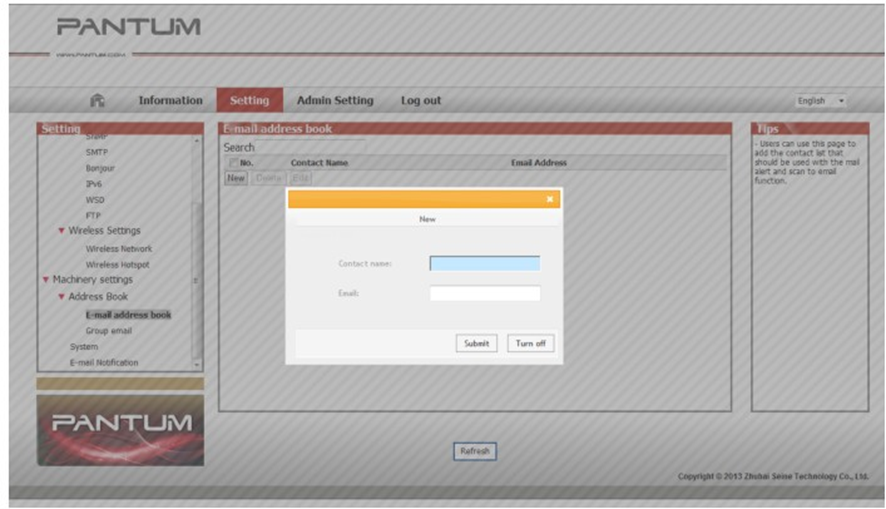
Step4: Click on new and the following window will pops up, edit the name of contacts, Input the E-mail address and then click on "Submit".
Step5: Put the document on the platen.
Step6: Press "Scan" button on the control panel, and press "▲" or "▼" to select "1. Single Page Scan" or "2. Merge Scan", then press "OK" button.
Step7: In the "1. Scan To" interface, press "OK" button.
Step8: Press "▲" or "▼" to select "Scan to E-mail" and press "OK" button.
Step9: Press "▲" or "▼" to select "E-mail Address Book" or "Group Mail" and press "OK" button.
Step10: Press "▲" or "▼" to select address or group and then press "OK" button; press "Start" button to start scan.


 Print
Print
 Home >
How to set up ‘scan to email’ Setting?

 、
、